
How to enable Raspberry Pi camera using raspi-config
You can enable the camera interface by running
sudo raspi-config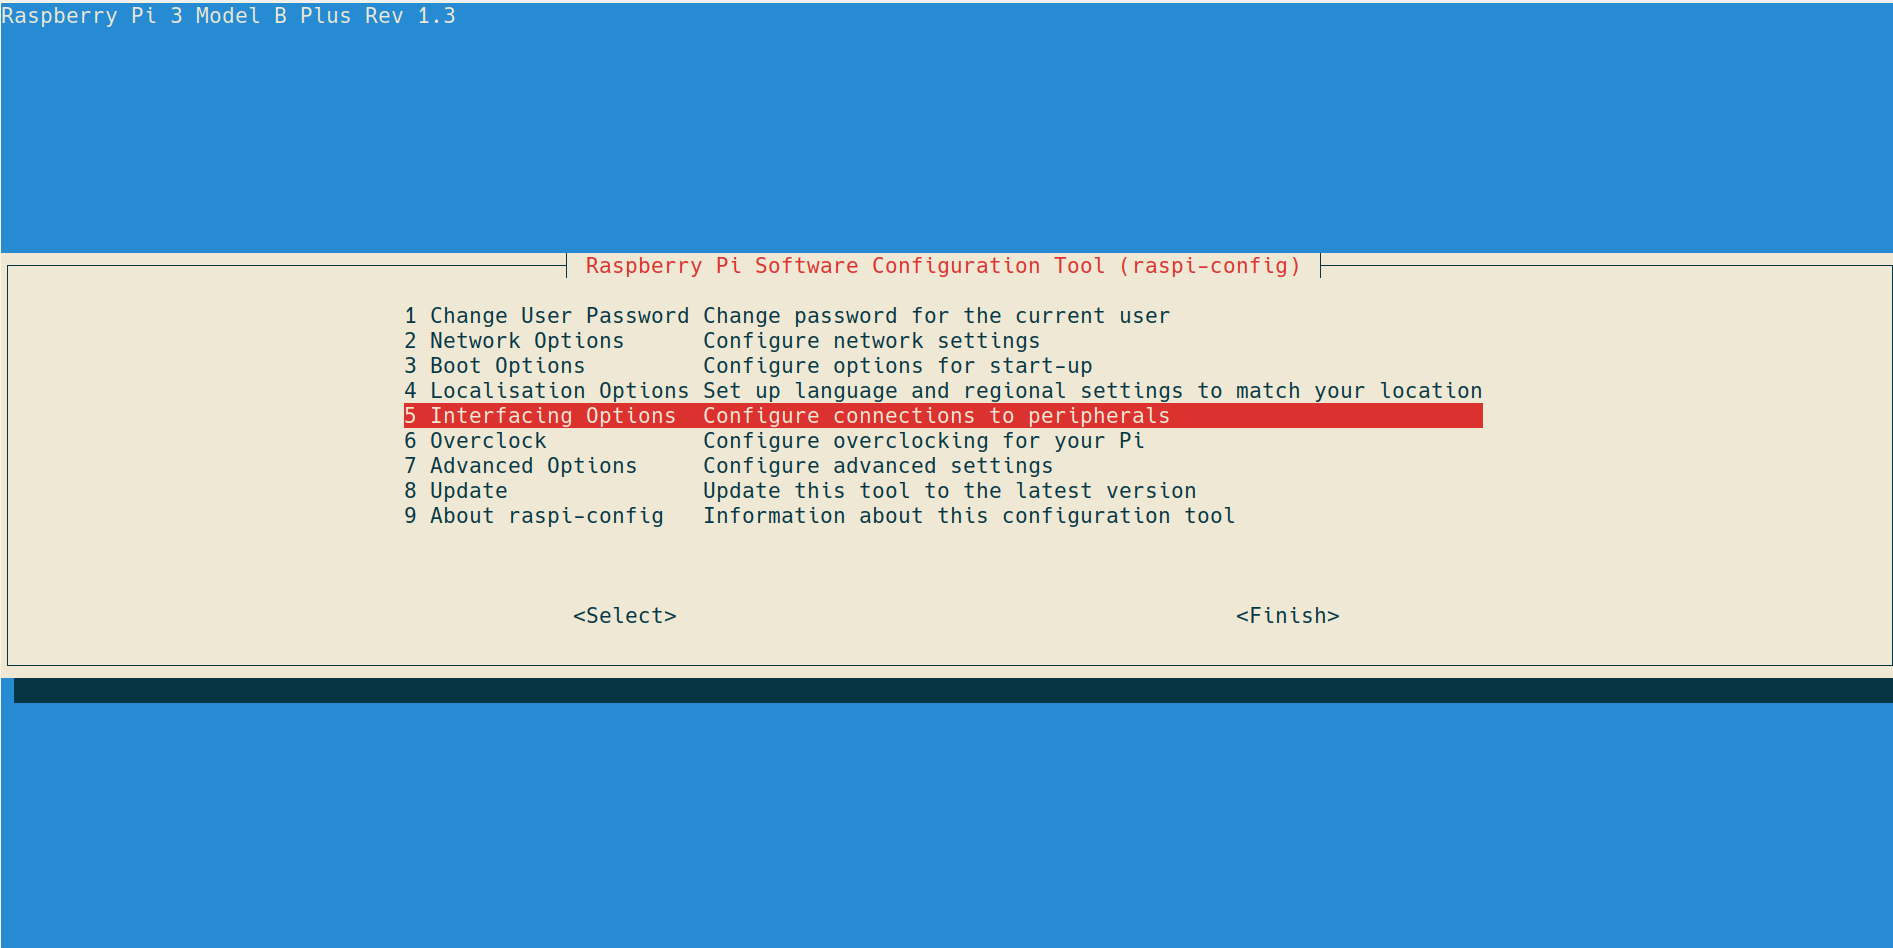
Select 5 Interfacing Options and press Return.
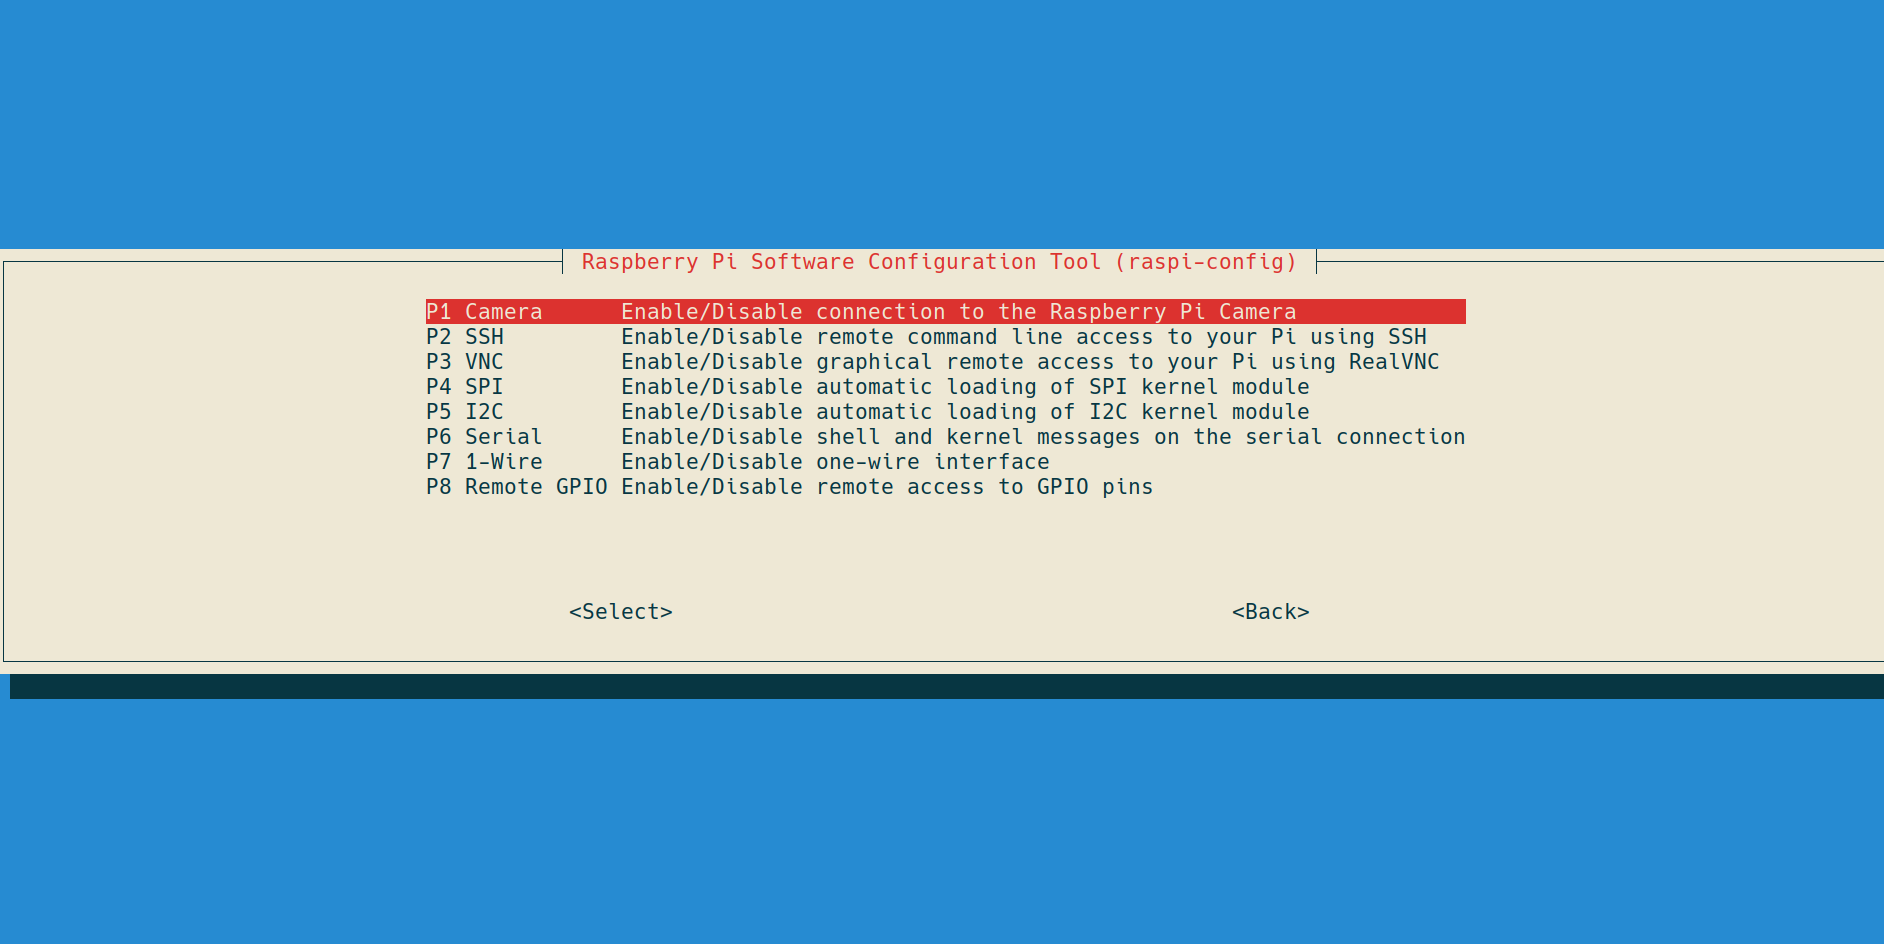
Now select P1 Camera and press Return.
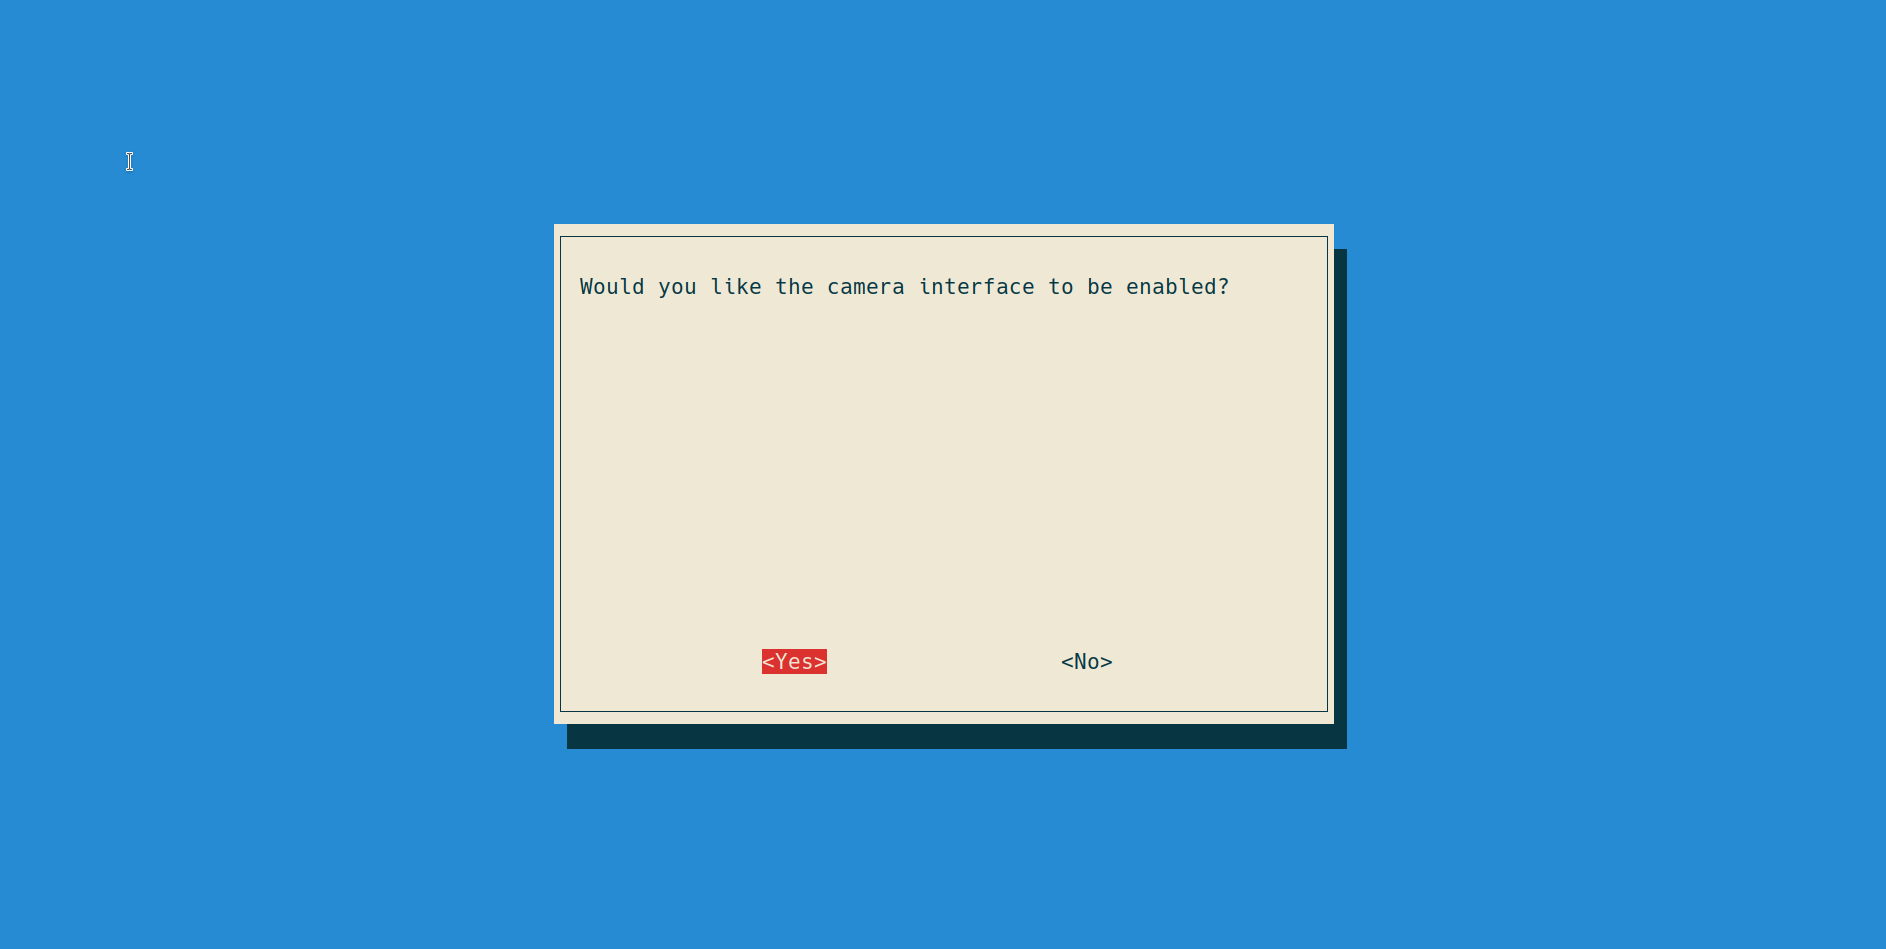
Select Yes and press Return.
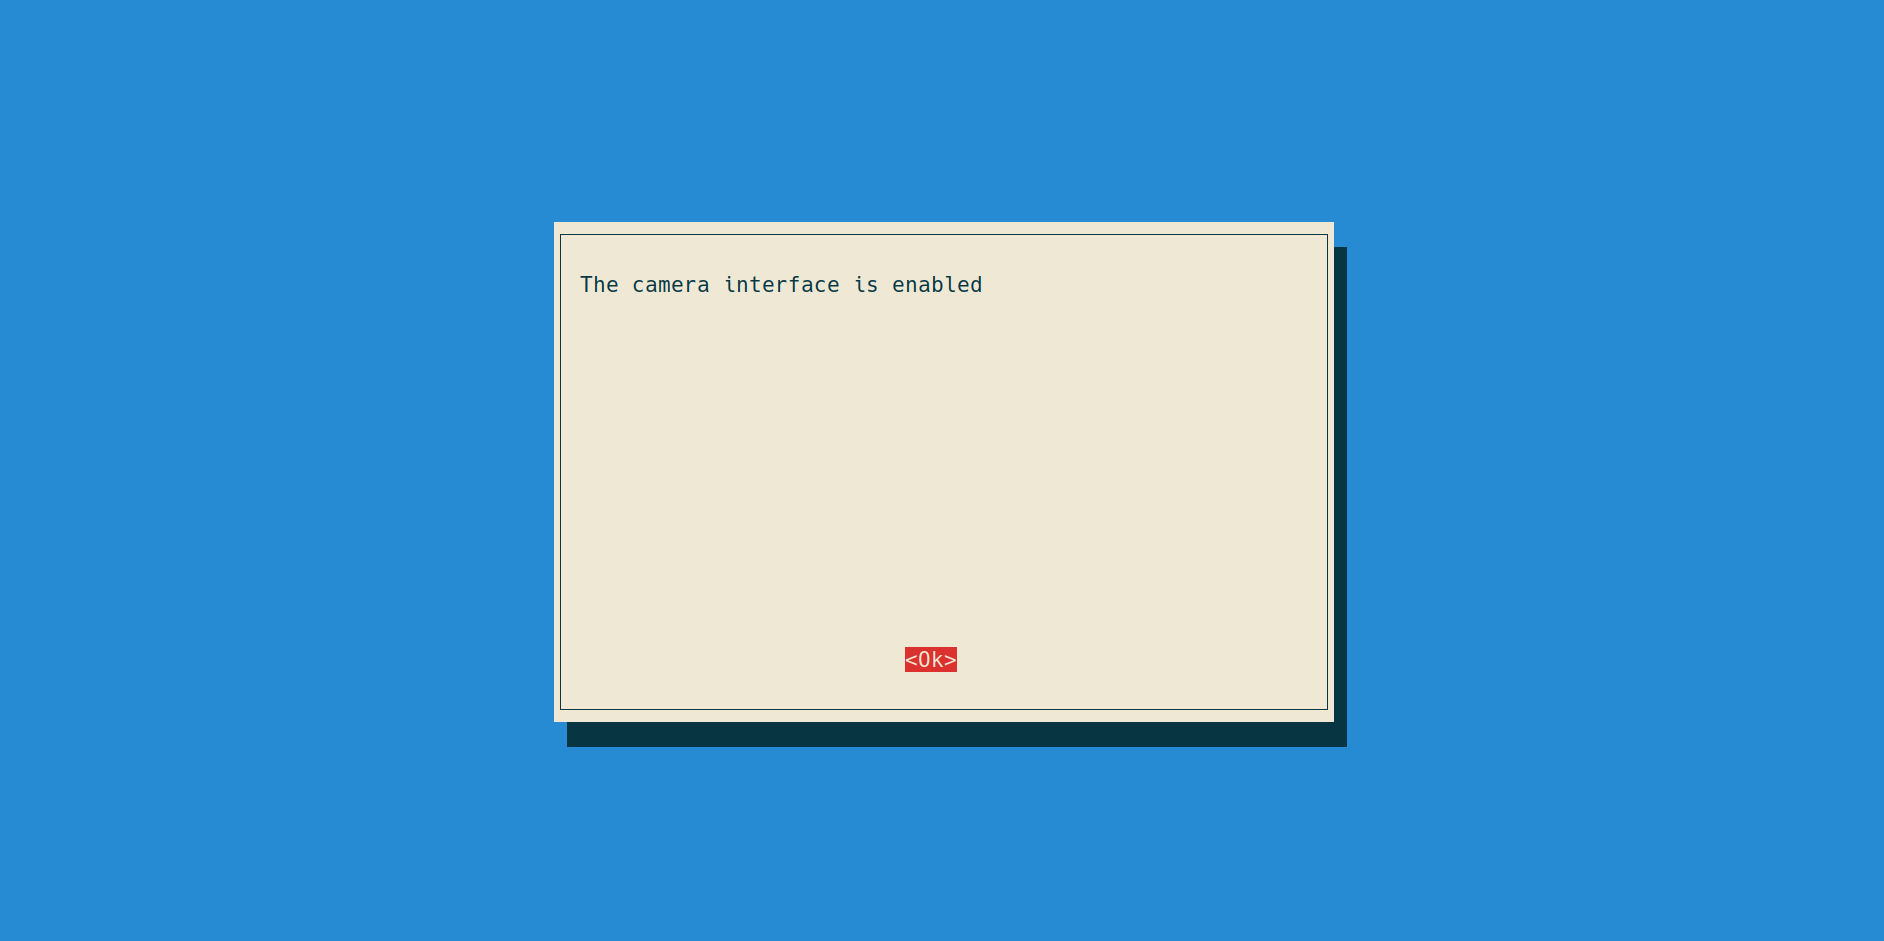
Now that the camera interface has been enabled, press Return.
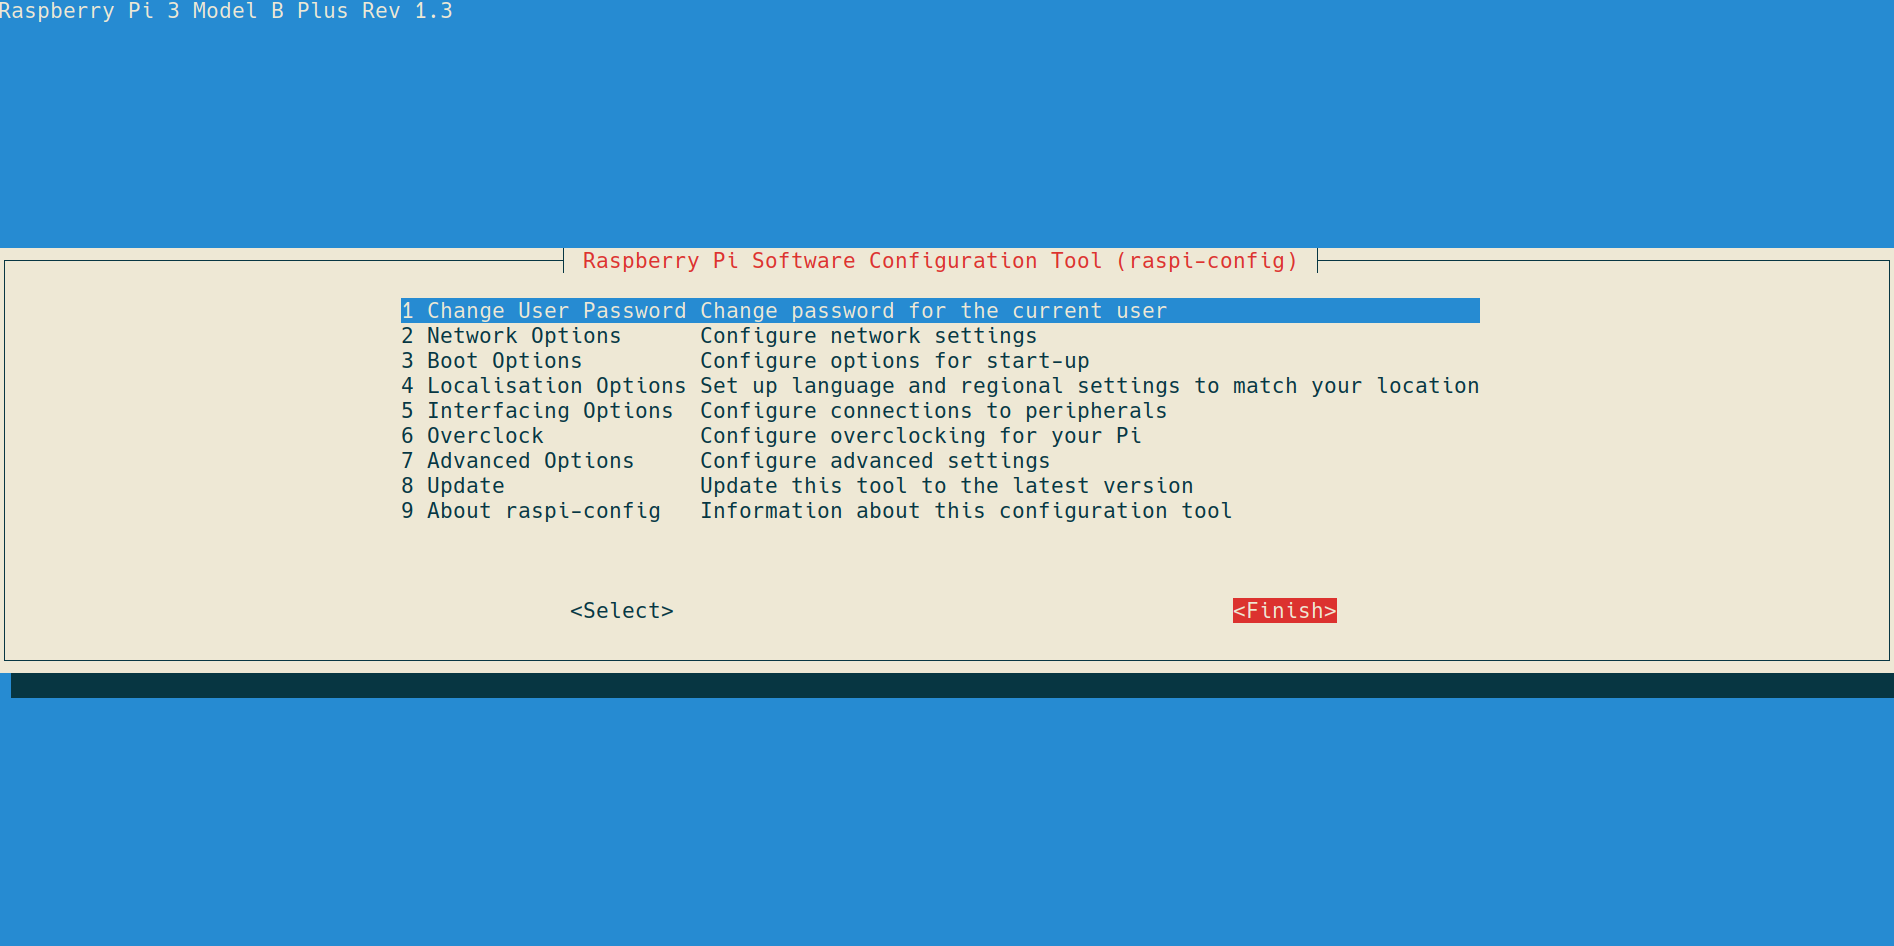
Press Tab twice to select Finish and press Return. You are now asked if you want to reboot:
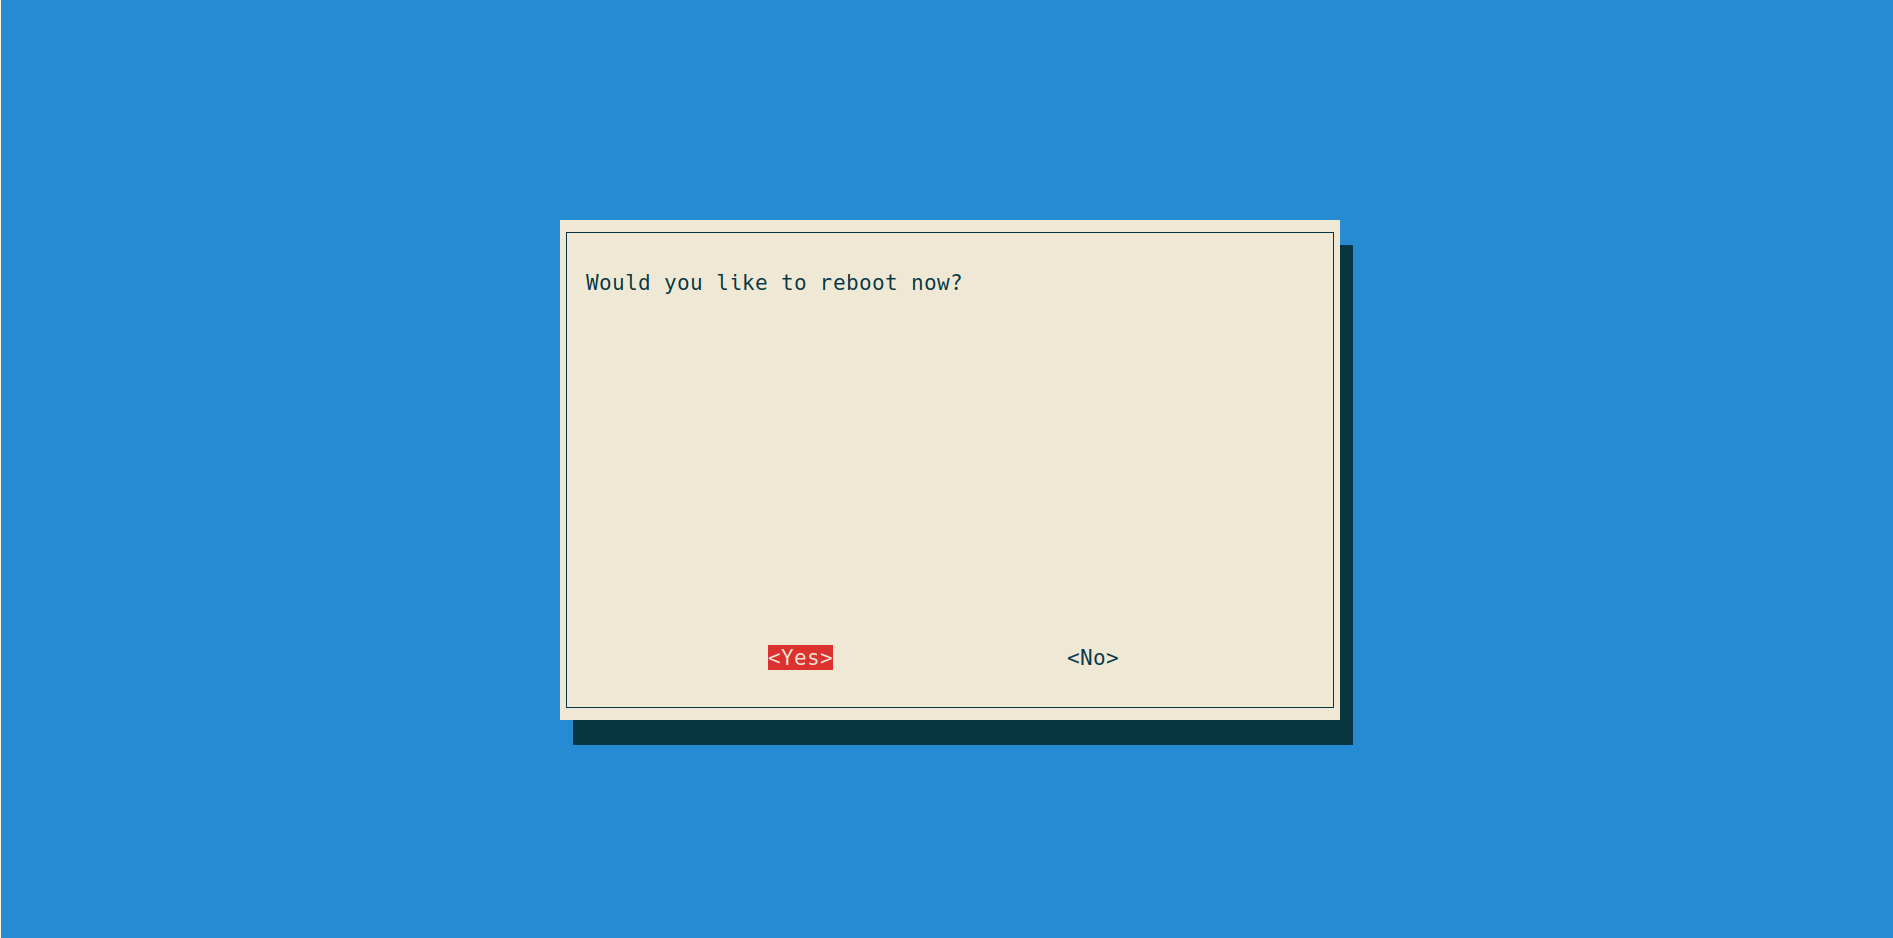
Select Yes and wait for your Raspberry Pi to reboot. Your camera interface will be enabled after the reboot.
In case you are not asked to reboot, your camera interface was already enabled. In this case, select Finish on the main raspi-config screen by pressing Tab twice and pressing Return:
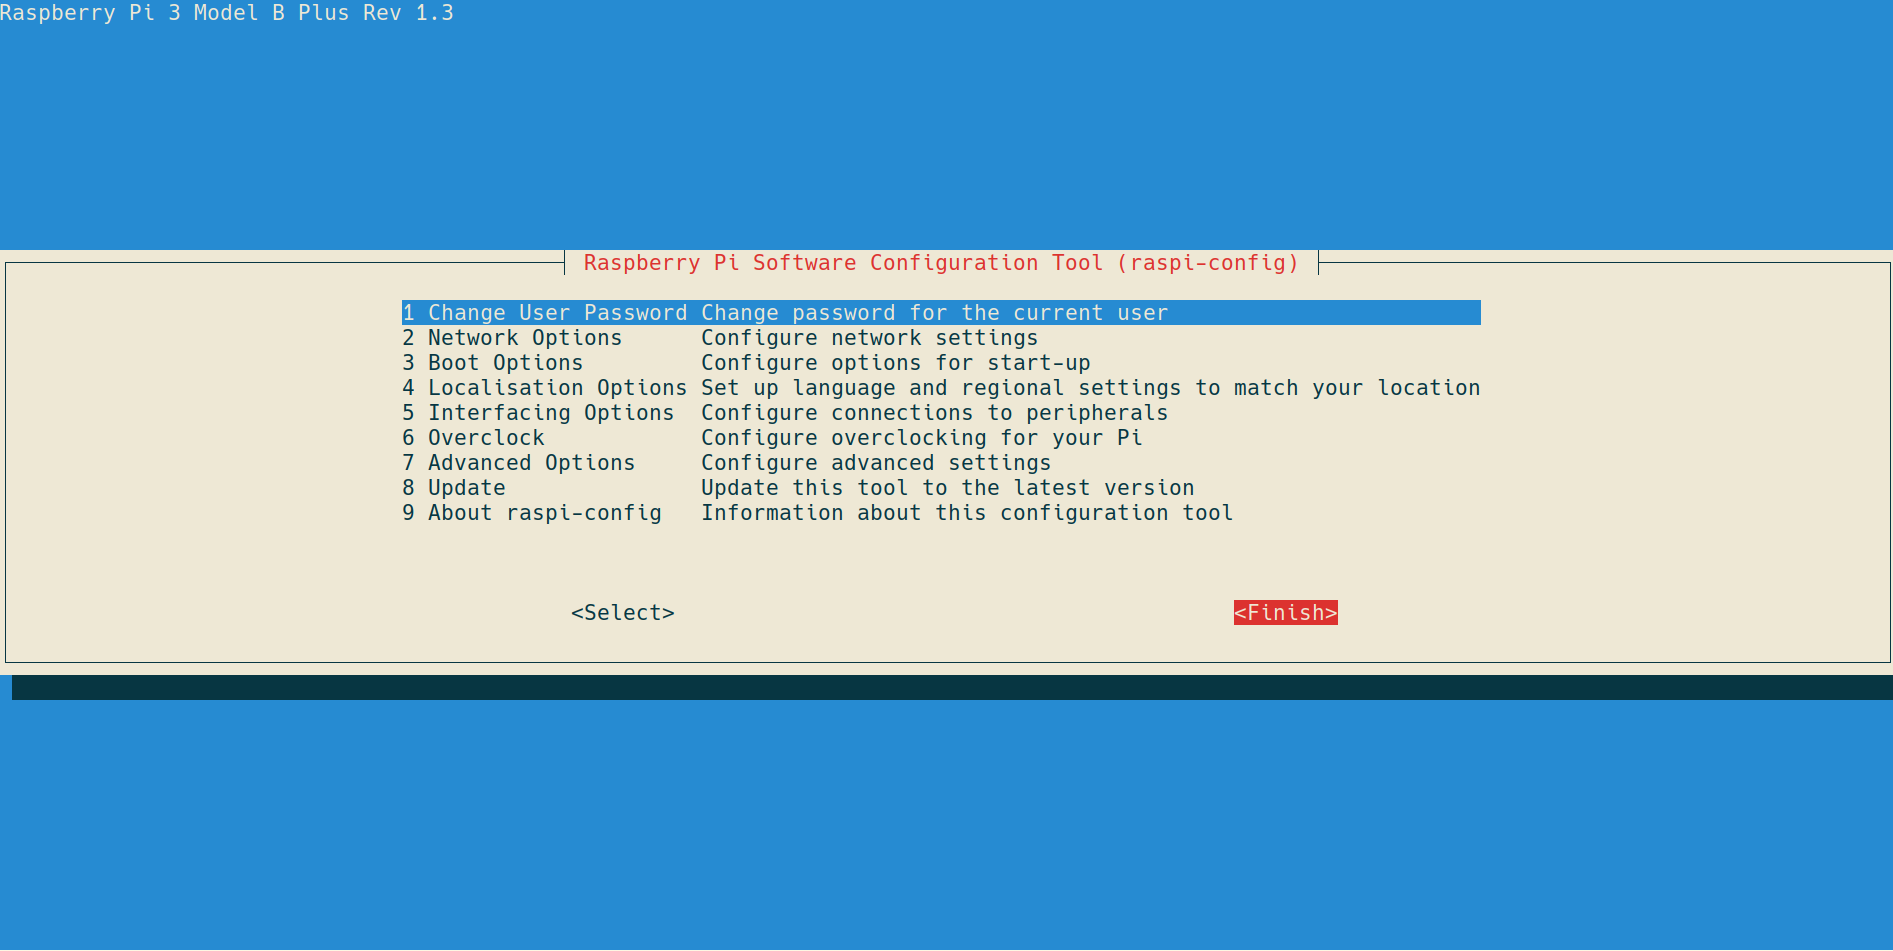
After pressing Return, check your shell again. Reboot (sudo reboot) so that any previous settings will take effect and then try
sudo raspistill -o myimg.jpgin order to test your camera.