
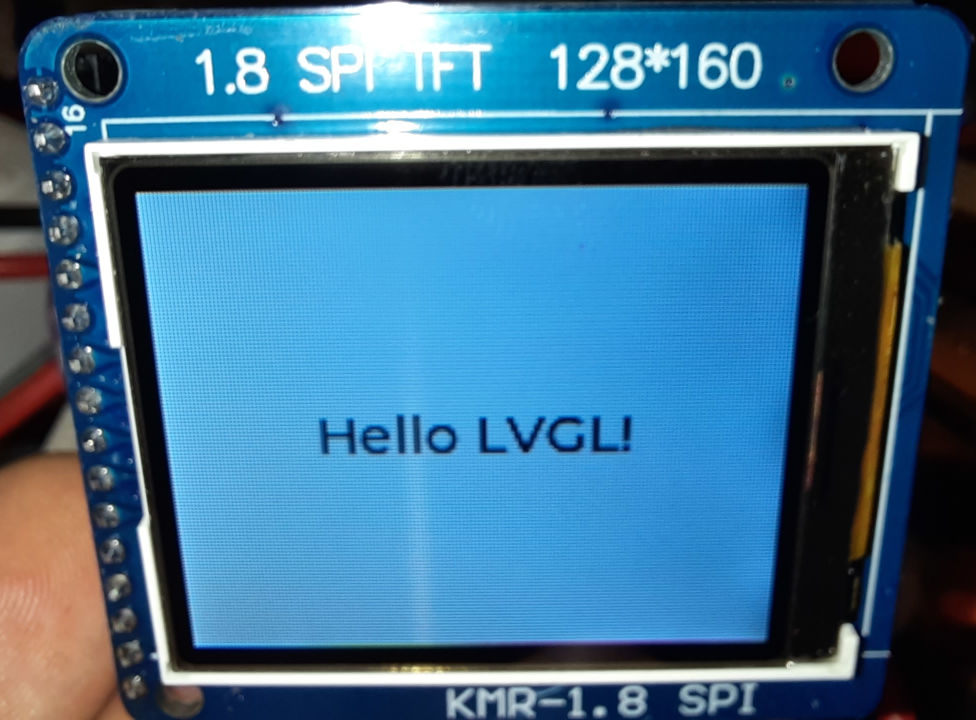
PlatformIO 的 Adafruit ST7735R 显示器最小 LVGL 示例
**重要:*在较新版本的 PlatformIO 中,大多数 ESP32 板在此示例中会崩溃,除非你创建自定义 lv_conf.h 配置文件指定使用内部内存而不是 PSRAM。查看如何修复 lv_tlsf_create() / lv_mem_init() 中的 ESP32 LVGL 崩溃/重启了解修复说明。
此示例基于 使用 Adafruit ST7735 的最小 ESP32 PlatformIO TFT 显示示例 中概述的硬件和软件设置,但使用 LVGL 库 提供更高级的渲染可能性。
查看 使用 Adafruit ST7735 的最小 ESP32 PlatformIO TFT 显示示例 了解硬件配置。
注意它只是一个开始使用 LVGL 的最小模板,除了居中文本渲染外,没有使用高级 LVGL 技术。
st7735_lvgl_example.cpp
#include <Arduino.h>
#include <Adafruit_GFX.h>
#include <Adafruit_ST7735.h>
#include <Adafruit_LvGL_Glue.h>
#include <string>

constexpr int Pin_LCD_CS = 27;
constexpr int Pin_LCD_DC = 23;
constexpr int Pin_LCD_RST = 22;
constexpr int Pin_LCD_SCLK = 14;
constexpr int Pin_LCD_MISO = 12;
constexpr int Pin_LCD_MOSI = 13;

Adafruit_ST7735 lcd(Pin_LCD_CS, Pin_LCD_DC, Pin_LCD_MOSI, Pin_LCD_SCLK,
                                 Pin_LCD_RST);
Adafruit_LvGL_Glue glue;

void lvgl_setup(void) {
  // Create simple label centered on screen
  lv_obj_t *label = lv_label_create(lv_scr_act());
  lv_label_set_text(label, "Hello LVGL!");
  lv_obj_align(label, LV_ALIGN_CENTER, 0, 0);
}

void setup() {
  lcd.initR(INITR_BLACKTAB);      // Init ST7735S chip, black tab
  lcd.setRotation(1);

  LvGLStatus status = glue.begin(&lcd);
  if(status != LVGL_OK) {
    Serial.printf("Glue error %d\r\n", (int)status);
    ESP.restart();
  }

  lvgl_setup(); // Call UI-building function above
}

void loop() {
  lv_task_handler(); // Call LittleVGL task handler periodically
  delay(5);
}platformio.ini
[env:esp32dev]
platform = espressif32
board = esp32dev
framework = arduino
lib_deps =
  adafruit/Adafruit GFX Library@^1.11.5
  adafruit/Adafruit ST7735 and ST7789 Library@^1.10.0
  adafruit/Adafruit LittlevGL Glue Library@^2.1.4
  adafruit/SdFat - Adafruit Fork@^2.2.1
lvgl/lvgl@^8.3.7Check out similar posts by category:
Arduino, LVGL, PlatformIO
If this post helped you, please consider buying me a coffee or donating via PayPal to support research & publishing of new posts on TechOverflow