
使用 PlatformIO 的 ESP32 MAX31855 热电偶 LCD 最小示例
**重要:*在较新版本的 PlatformIO 中,大多数 ESP32 板在此示例中会崩溃,除非你创建自定义 lv_conf.h 配置文件指定使用内部内存而不是 PSRAM。查看如何修复 lv_tlsf_create() / lv_mem_init() 中的 ESP32 LVGL 崩溃/重启了解修复说明。
在我们之前的示例 PlatformIO 的 Adafruit ST7735R 显示器最小 LVGL 示例 中,我们展示了如何使用 LVGL 在基于 ST7735R 的 SPI 显示器上显示简单文本。
在这篇文章中,我们将扩展此示例
查看 使用 Adafruit ST7735 的最小 ESP32 PlatformIO TFT 显示示例 了解显示器的推荐硬件配置。代码支持两个 MAX31855 但此示例只使用一个。MAX31855 的引脚定义为:
max31855_pins.h
constexpr int8_t Pin_MAX31855_CLK = 21;
constexpr int8_t Pin_MAX31855_MISO = 5;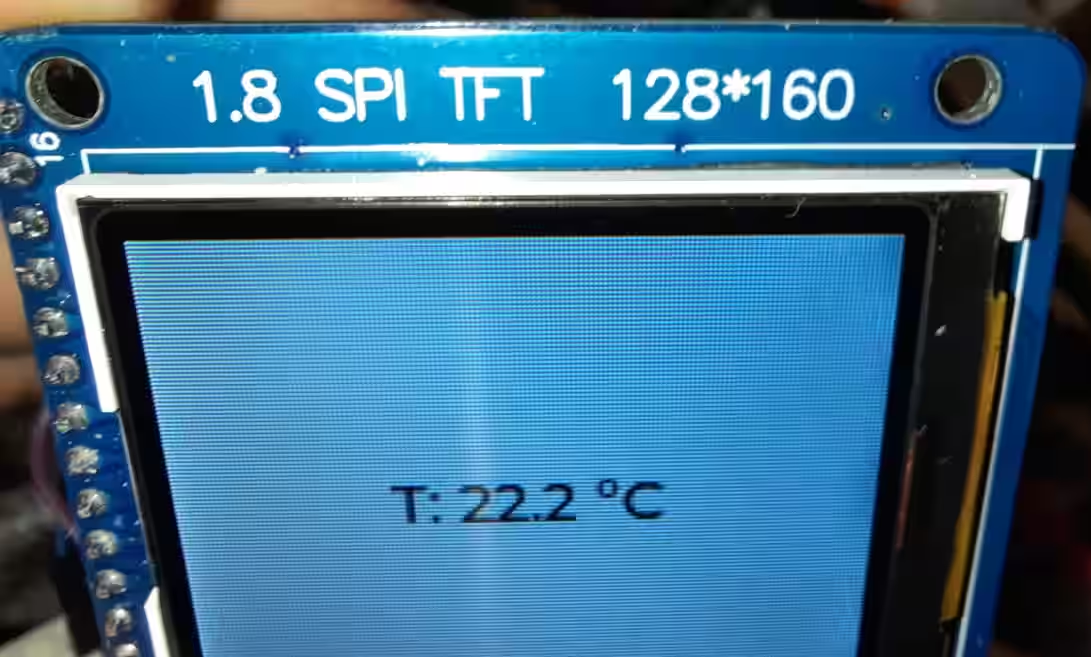
constexpr int8_t Pin_MAX31855_A_CS = 18;**使用 ESP32 和 128x160px ST7735R 显示器,此代码实现约 5Hz 的更新率。**注意此示例可以轻松修改以与其他 LCD 控制器或显示器一起工作。
max31855_lcd_example.cpp
#include <Arduino.h>
#include <Adafruit_GFX.h>
#include <Adafruit_ST7735.h>
#include <Adafruit_LvGL_Glue.h>
#include <Adafruit_MAX31855.h>
#include <string>
#include <sstream>

constexpr int8_t Pin_LCD_CS = 27;
constexpr int8_t Pin_LCD_DC = 23;
constexpr int8_t Pin_LCD_RST = 22;
constexpr int8_t Pin_LCD_SCLK = 14;
constexpr int8_t Pin_LCD_MISO = 12;
constexpr int8_t Pin_LCD_MOSI = 13;

constexpr int8_t Pin_MAX31855_CLK = 21;
constexpr int8_t Pin_MAX31855_MISO = 5;
// Two different Chip selects for two different MAX31855
constexpr int8_t Pin_MAX31855_A_CS = 18;
constexpr int8_t Pin_MAX31855_B_CS = 19;

SPIClass vspi(VSPI);
Adafruit_MAX31855 thermocouple1(Pin_MAX31855_A_CS, &vspi);
Adafruit_MAX31855 thermocouple2(Pin_MAX31855_B_CS, &vspi);

Adafruit_ST7735 lcd(Pin_LCD_CS, Pin_LCD_DC, Pin_LCD_MOSI, Pin_LCD_SCLK,
                                 Pin_LCD_RST);
Adafruit_LvGL_Glue glue;

// Number of consecutive NaN reads before we assume the thermocouple is actually disconnected
uint32_t consecutiveNaNReads = 0;
constexpr uint32_t maxConsecutiveNaNReads = 10;
std::string labelText = "";
lv_obj_t *label;

void lvgl_setup(void) {
  // Create simple label centered on screen
  label = lv_label_create(lv_scr_act());
  lv_label_set_text(label, "Initializing..");
  lv_obj_align(label, LV_ALIGN_CENTER, 0, 0);
}

template<typename T>
std::string celsiusToString(const T a_value, const int decimals = 1)
{
    std::ostringstream out;
    out.precision(decimals);
    out << std::fixed << a_value << " °C";
    return std::move(out).str();
}

bool IsValidReading(double reading) {
  return !isnan(reading) && reading > -40.0 && reading < 1000.0;
}

void ReadTemperature() {
  double celsius = thermocouple1.readCelsius();
  if(!IsValidReading(celsius)) {
    consecutiveNaNReads++;
    if(consecutiveNaNReads >= maxConsecutiveNaNReads) {
      // Thermocouple is disconnected
      lv_label_set_text(label, "Error");
    }
  } else {
    consecutiveNaNReads = 0;
    labelText = "T: " + celsiusToString(celsius);
    lv_label_set_text(label, labelText.c_str());
  }
}

void setup() {
  Serial.begin(115200);
  // Start MAX31855 SPI
  vspi.begin(Pin_MAX31855_CLK, Pin_MAX31855_MISO, Pin_MAX31855_A_CS);

  lcd.initR(INITR_BLACKTAB);      // Init ST7735S chip, black tab
  lcd.setRotation(1);

  LvGLStatus status = glue.begin(&lcd);
  if(status != LVGL_OK) {
    Serial.printf("Glue error %d\r\n", (int)status);
    ESP.restart();
  }

  lvgl_setup(); // Call UI-building function above
}

void loop() {
  ReadTemperature();
  lv_task_handler(); // Call LittleVGL task handler periodically
  delay(5);
}platformio.ini
[env:esp32dev]
platform = espressif32
board = esp32dev
framework = arduino
monitor_speed = 115200
lib_deps =
    adafruit/Adafruit GFX Library@^1.11.5
    adafruit/Adafruit ST7735 and ST7789 Library@^1.10.0
    adafruit/Adafruit LittlevGL Glue Library@^2.1.4
    adafruit/SdFat - Adafruit Fork@^2.2.1
    lvgl/lvgl@^8.3.7
adafruit/Adafruit MAX31855 library@^1.4.0Check out similar posts by category:
Arduino, LVGL, PlatformIO
If this post helped you, please consider buying me a coffee or donating via PayPal to support research & publishing of new posts on TechOverflow